
Have you ever seen a hand rendered design and thought, "WOW, how do they do that?" or, "I'll never be able to hand render like that." I am an interior designer and I also have those same thoughts. In college I had to learn the skills of hand rendering, however, with such a fast paced world, it was one of the skills I let slip.
I recently reconnected with a friend from university, Shannin Williams, and she absolutely amazed me. Shannin has fine tuned her hand rendering skills since our time as Lumberjacks at SFA in Nacogdoches, TX. "My goal is to help you learn the basic techniques of hand rendering and sketching and apply those to your client presentation boards in a creative way so you can sell your design proposal." Shannin says. I love how she inspired me to get back to the basics by putting pen to paper and immerse myself into my designs on another level. Here are some of the tips she gave me for sharpening my hand rendering skills that will help you too.

Tip 1 - Use good quality paper.
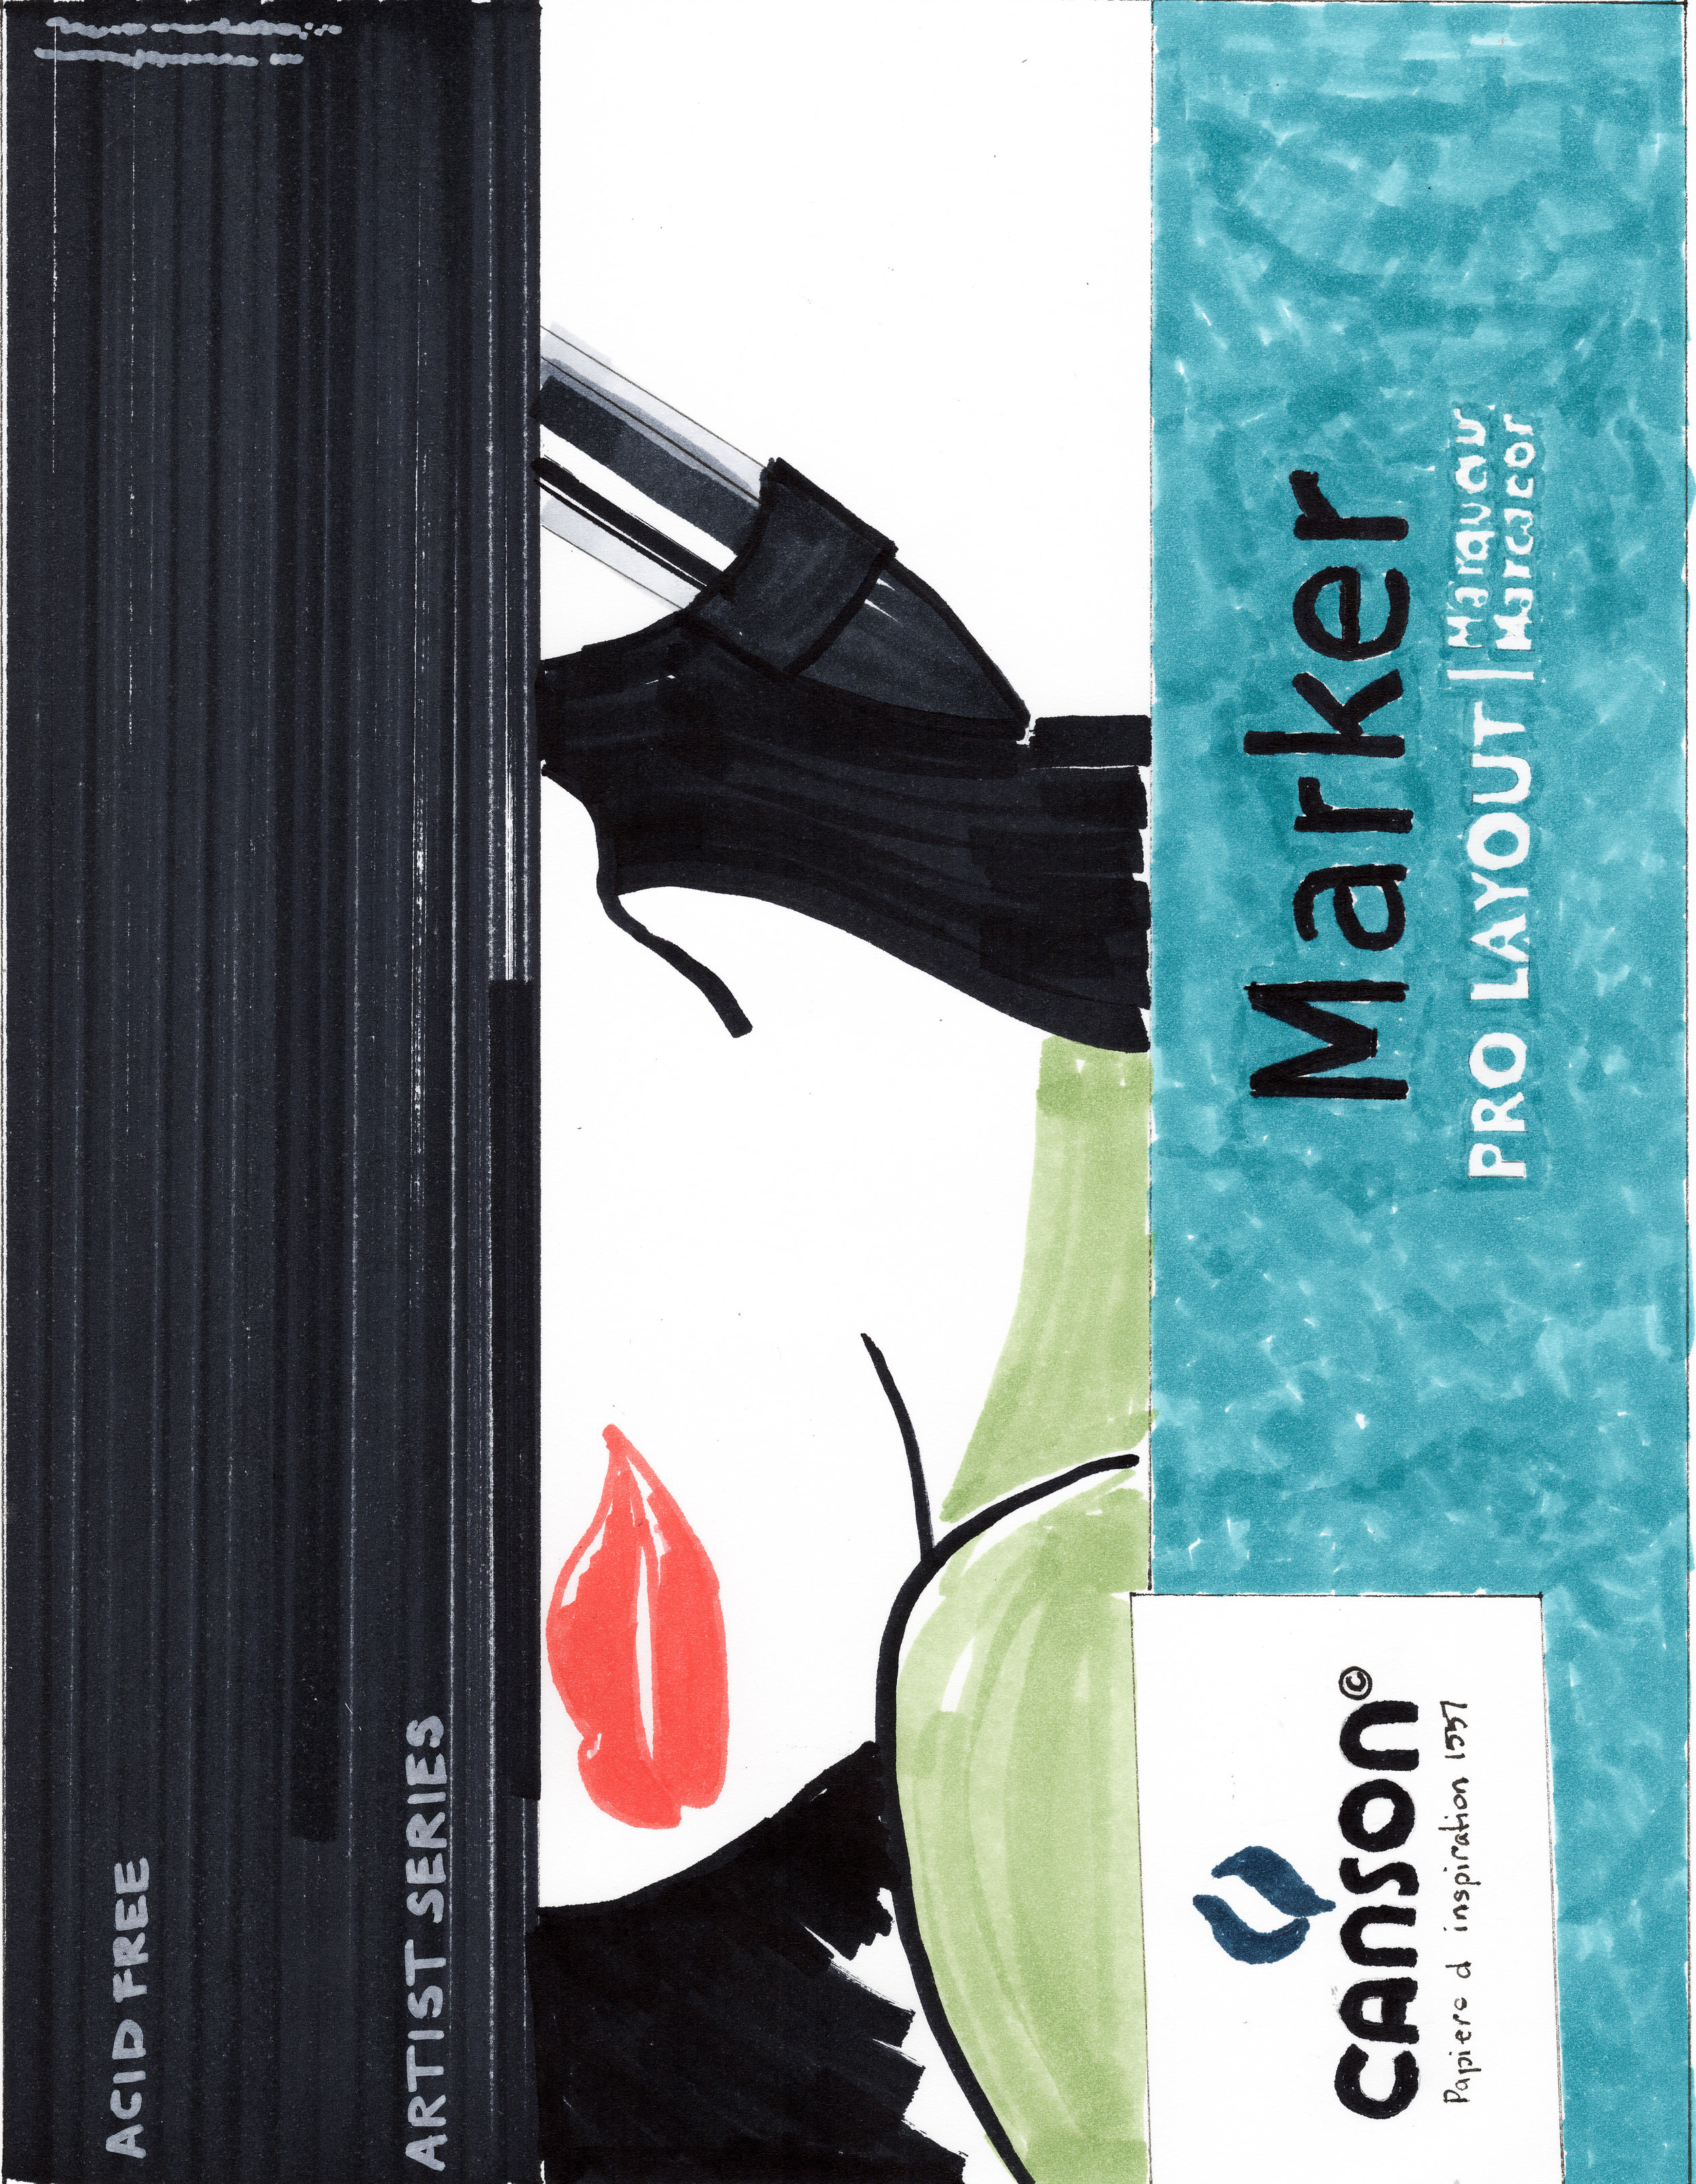
Using good quality paper can change the way the final rendering can look. I’ve used several types of marker paper and I discovered the ones I like the most. If I want my hand rendering to have a softer look I use Bienfang Lightweight drawing paper. This paper allows the marker to bleed perfectly for me. If I want a sharper look with defined strokes and marks and no bleeding I use x-press it blending card. Others I use are Canson pro layout marker paper, and Borden& Riley #234 bleedproof paper. I suggest trying a variety of papers until you find the one you like and achieve the look your aiming for. See more of my favorite tools in the link here.
Tip 2- Use a straight edge when you hand render or draw.
I always use a triangle that has an inking edge when I draft floor plans or hand render. The purpose is to keep your marker lines straight. I like seeing crisp, straight lines in my illustrations. A crooked line makes me nuts which is why I own several adjustable triangles in different sizes. My favorite is the Staedtler Mars 8” adjustable triangle. I even keep a smaller one in my purse when I travel along with a sketchbook, pen, and pencil.

Tip 3 - Use good quality markers.
I use Copic Sketch markers due to the 380 + colors they offer. I also like Copic Sketch markers because you can refill them and change the tips when they get bad. Buying a $6 marker seems outrageous but I look at it as an investment since I have the ability to refill them when needed. That beats buying a whole new marker like you would with other brands. If you want to start with a set of markers I recommend purchasing any of the Copic Sketch cool, toner, neutral, and warm gray markers first. You can achieve a lot of colors with a range of grays. And don’t be afraid to layer and mix your marker colors to create a new color.

Tip 4 - Define your own style of hand rendering.
There are several architectural illustrators out there that have different hand rendering techniques. I have learned from them all and developed my own rendering style that portrays the look I want to achieve. My style includes a loose and quick mark that is not perfect allowing my final hand rendering to be natural and not forced. It took me months of practice to achieve the style I wanted and I recommend you doing the same. Your style of hand rendering needs to stand out amongst others to get gain attention.


To see more of my work visit my website at www.shanninwilliams.com or follow me on instagram @shannin_williams. If you want to practice hand rendering jump on my website and sign up for my mailing list and download your free line drawing or you can see try out my hand rendering course here.
